


LaTeX is a beautiful documentation system. It's similar to Markdown, but has many more features and is commonly used for academic papers and other publications that require a lot of equations. In this quick how to, we cover how to install LaTeX and use Visual Studio Code as an editor/previewer.
Installing LaTeX
I recommend downloading TeX Live for Windows/Linux, and MacTex for macOS.
Setting up our editor
If you haven't already, install Visual Studio Code and go through a tutorial. Then, we need to install our extension for LaTeX itself. Head over to LaTeX Workshop and click install.
Using LaTeX
Now that we have our editor setup, we can write our first project. All LaTeX documents have a (non-blank) file that ends with .tex, which is the "main" file that has all of the text of the document. Since LaTeX usually generates more files (such as .log, etc.) while building the document, it's recommended that every document you want to write has its own folder.
For starters, create a file named example.tex:
\documentclass{article}
    % General document formatting
    \usepackage[margin=0.7in]{geometry}
    \usepackage[parfill]{parskip}
    \usepackage[utf8]{inputenc}

\begin{document}
% Put your text here
This is starter text.
\end{document}
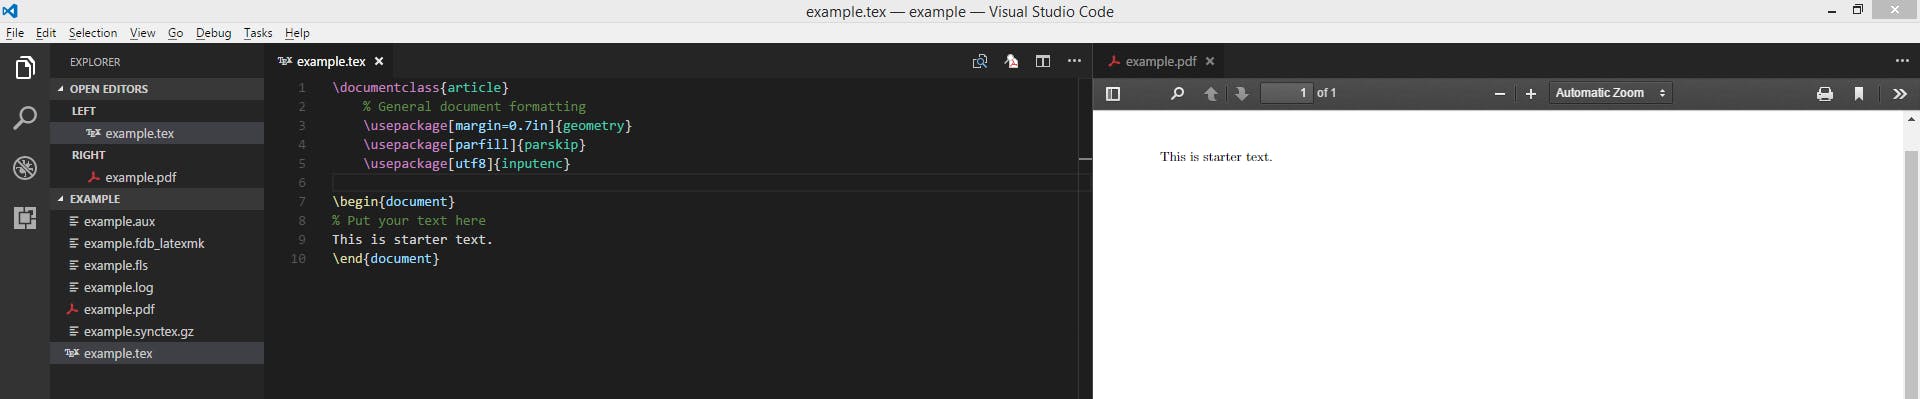
Press Ctrl-Alt-B to build your project (or use the Command Palette), then Ctrl-Alt-T to view the pdf in a new tab. The end result should look like this:
Conclusion
LaTeX and VSCode are a great combination that you can use to write beautiful reports and papers. Check out a tutorial or two to realize the full experience LaTeX has to offer.