

Replit is a free, collaborative, in-browser IDE for creating new projects without setting up any environments on your computer. With Replit, you don’t need to “deploy” your projects to any service; they’ll be instantly available to you as soon as you start typing. In this post, we’ll review how to create a Flask app, set up folders for HTML and CSS templates, and learn how to navigate your Flask app.
Before following these steps, you must first create an account on replit.
Creating a Flask Project
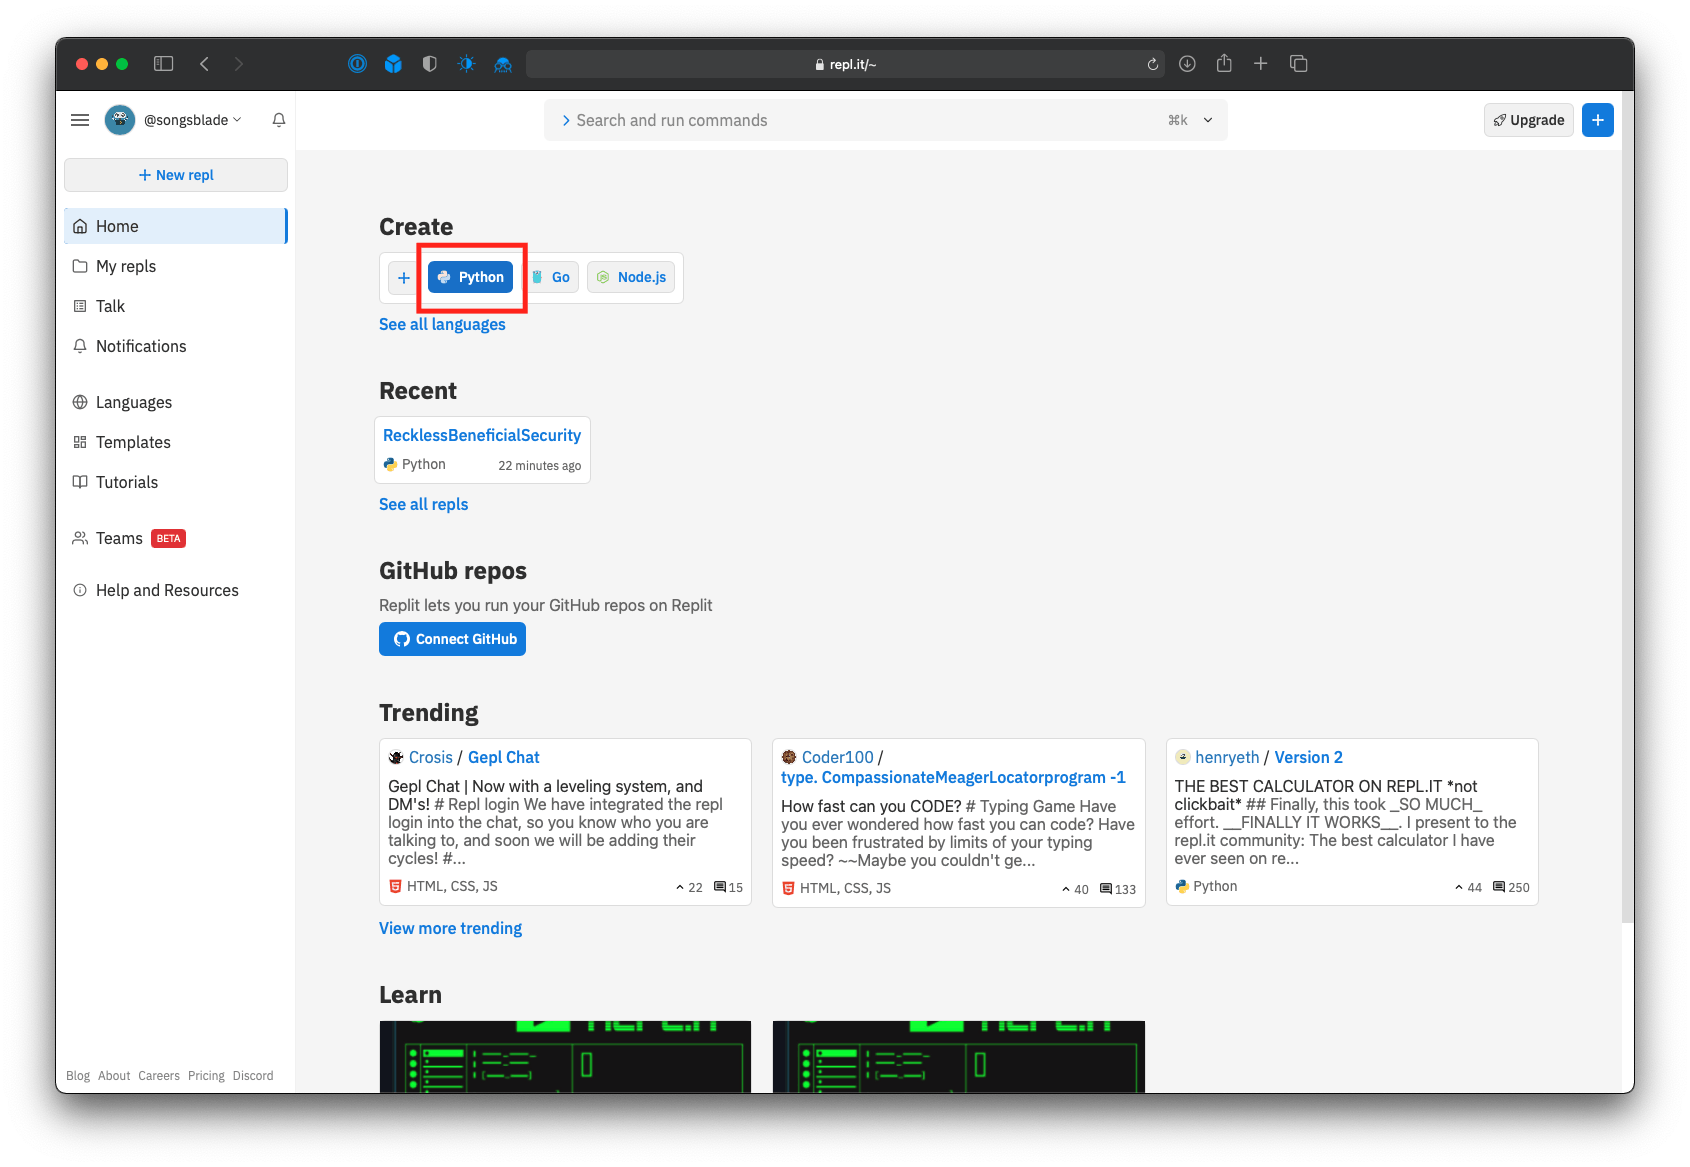
First, let’s create a blank Python project. On your replit homepage, create new project by clicking “Python” under the “Create” heading:
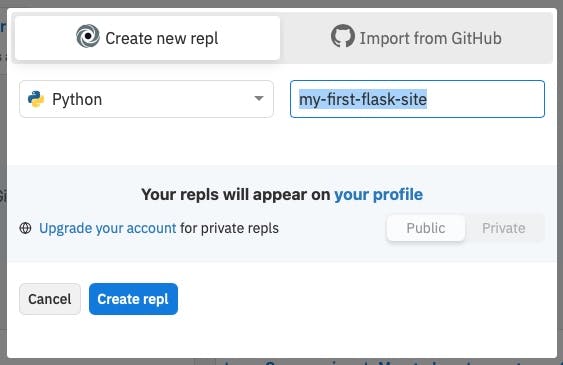
For the project name, type my-first-flask-site and click “Create repl”:
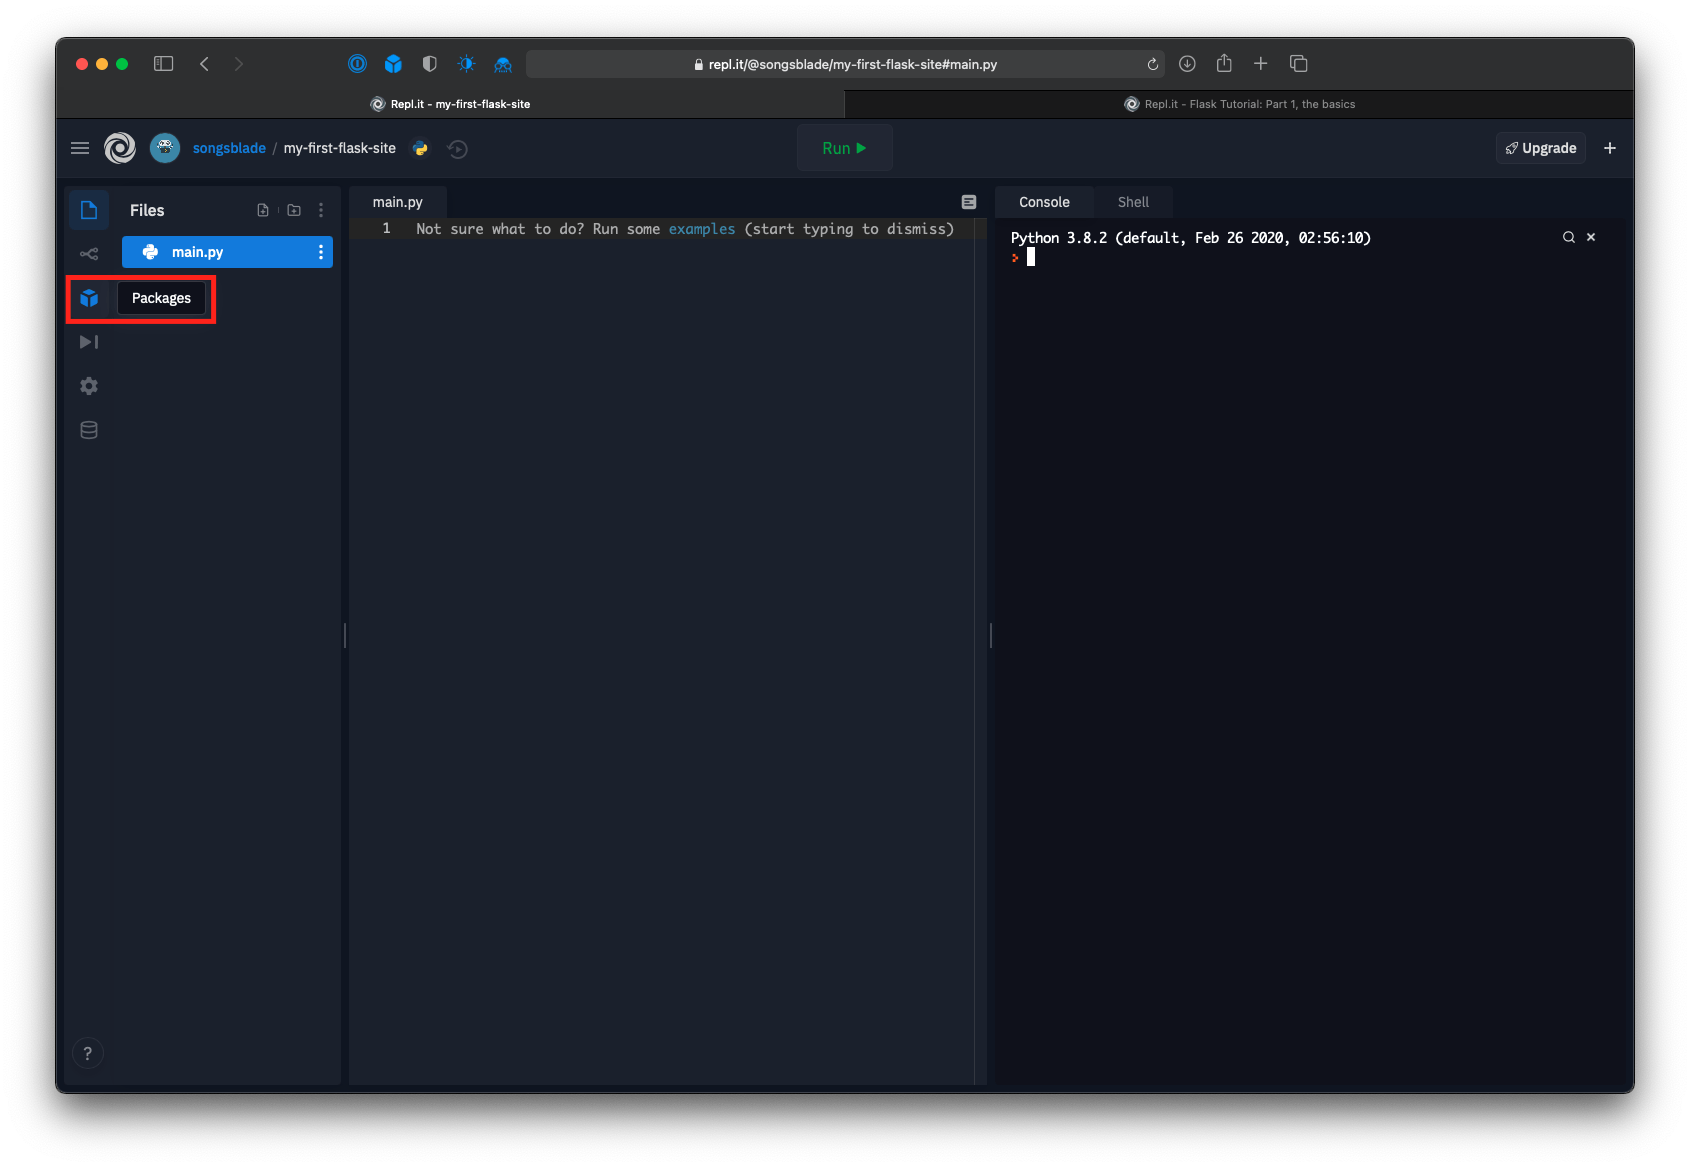
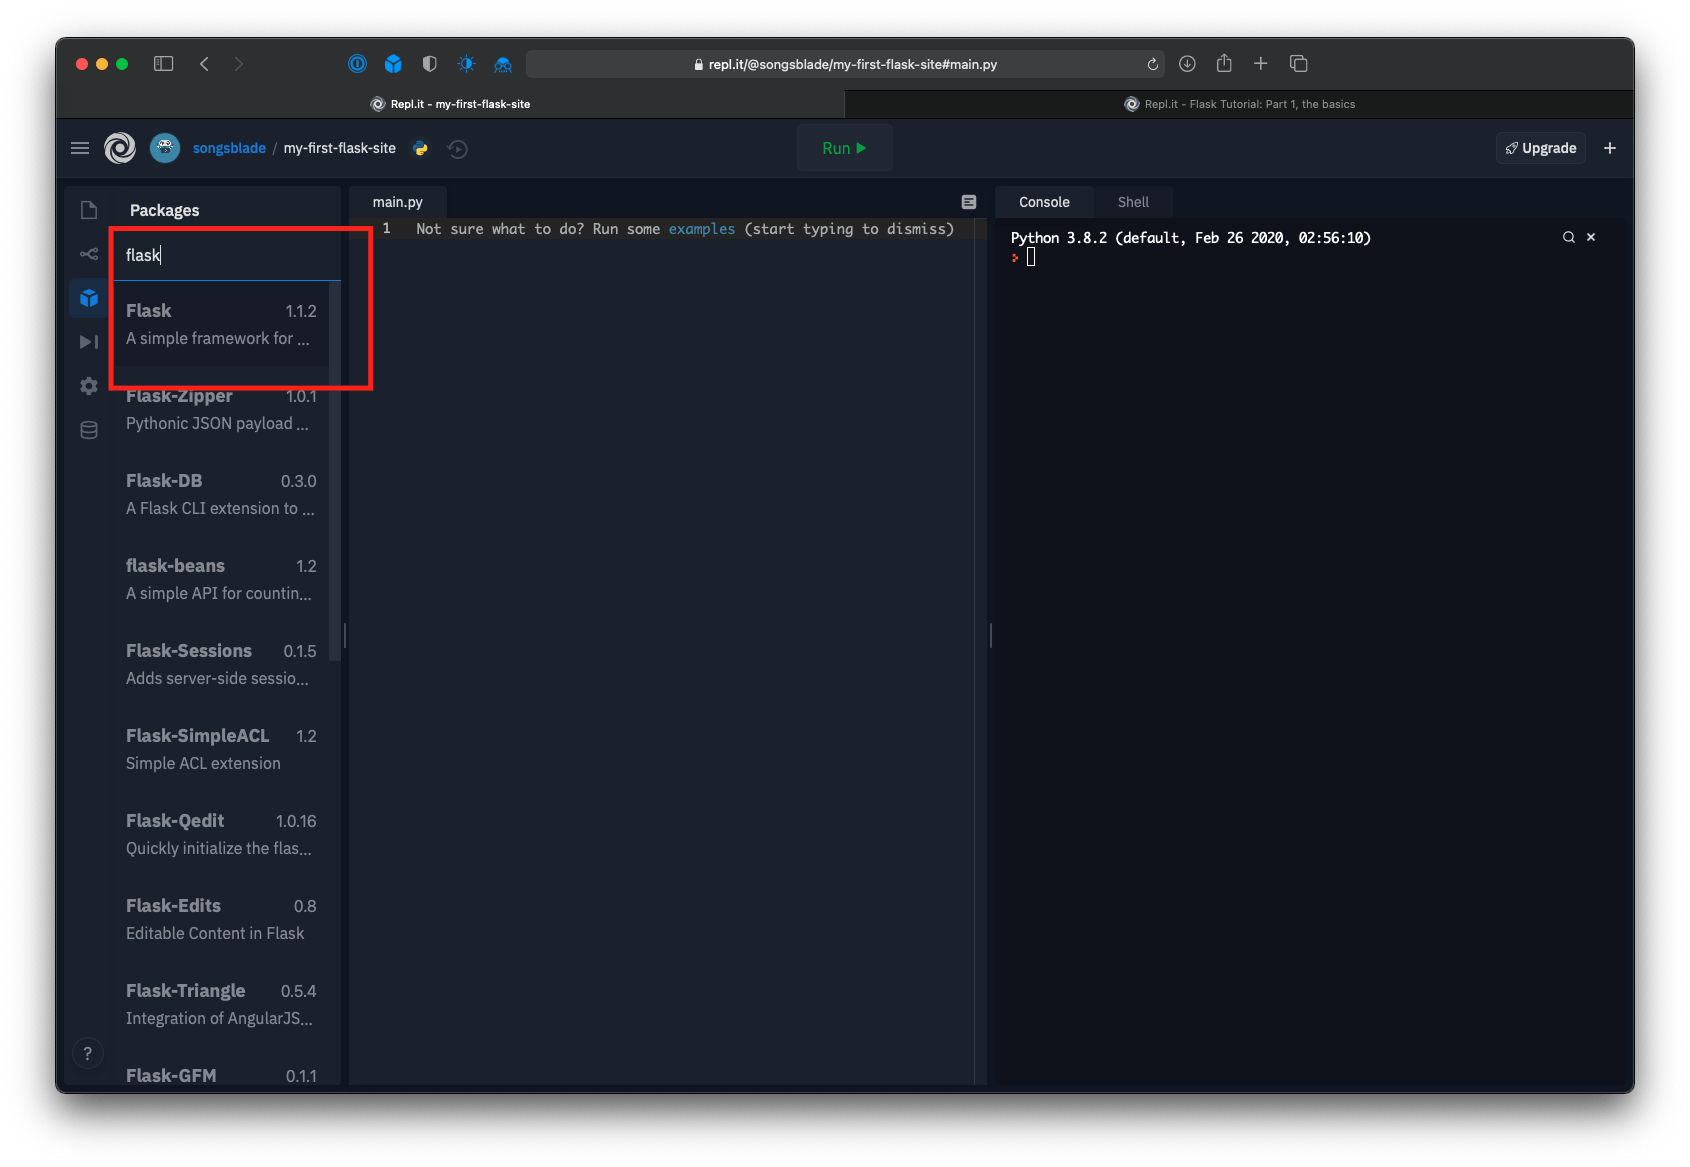
Your new project will automatically create a file named main.py and open a Python IDLE for you, but we need to install Flask before we can start writing our app. On the left sidebar, click the “Packages” icon, which looks like a hexagonal box:
From here, we can install any Python packages that you want to import in your app. Install the Flask package by typing “flask” and selecting the first item from the list named “Flask”:
Then, click the “Files” icon on the left sidebar to go back to the files list. You should see main.py, which was already created for you.
Hello, World!
Our first Flask app will have one page—the index page—that says Hello World! when we go to the home page. Copy the below code into the file named main.py:
from flask import Flask, render_template

# Create a flask app
app = Flask(
  __name__ ,
  template_folder='templates',
  static_folder='static'
)

# Index page
@app.route('/')
def hello():
  return "Hello World!"

if __name__ == ' __main__':
  # Run the Flask app
  app.run(
    host='0.0.0.0',
    debug=True,
    port=8080
  )
In this code, we have one page that’s controlled by the hello() function. It’s route is ’/‘, which means that it is at the home page of our app.
For flask projects, Replit looks for a web server at the local URL http://0.0.0.0:8080, so we need set the host to ’0.0.0.0' and the port to 8080 in app.run(…). We also set debug=True so that any changes you make to files will be automatically updated when you refresh a page.
We’ll use render_template, template_folder, and static_folder later in this tutorial, so don’t worry about those just yet.
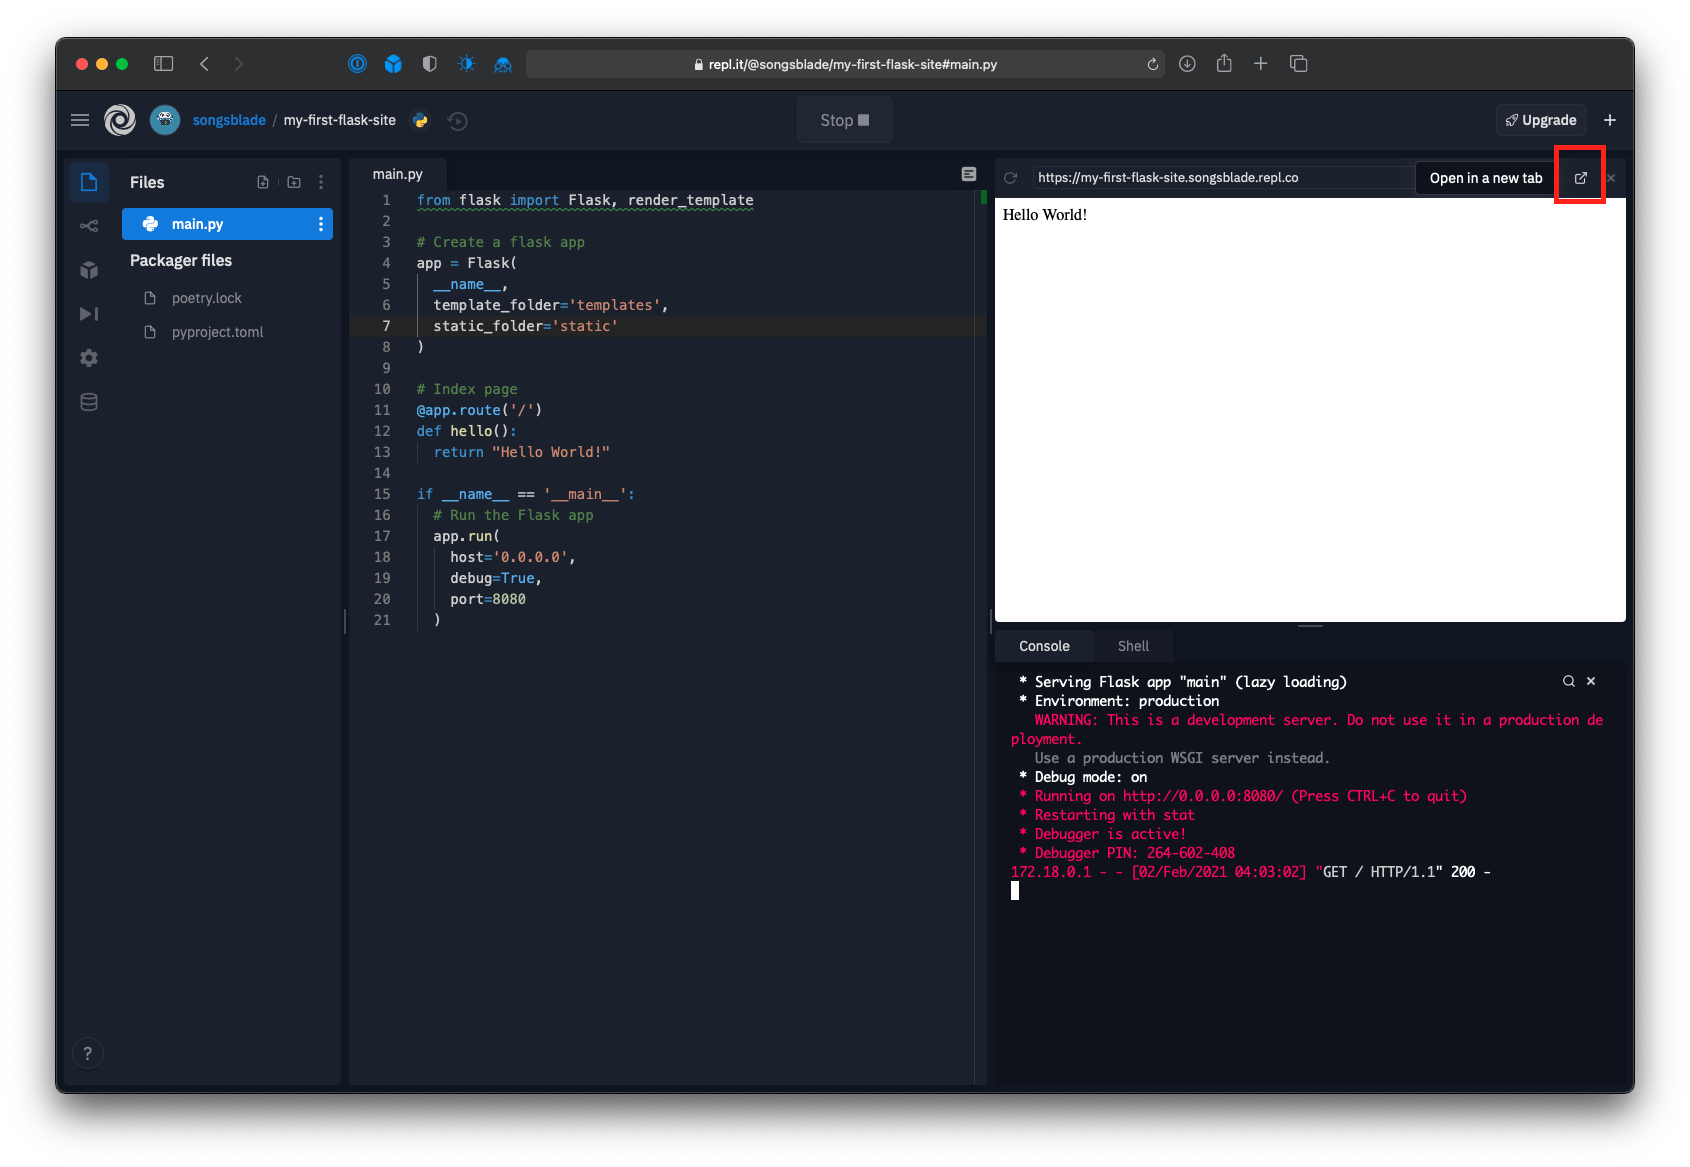
Now, click the green “Run” button at the top of the page. Replit should install Flask, then open a browser with your first Flask app!

The bottom right window is the Python console, and will show any error messages or logs that are printed.
At any time, you can click the “Stop” button at the top and click “Run” again to restart your Flask app.
Sometimes, your app might have multiple pages. To go to a different URL (or @app.route) in your app, click the icon “Open in a new tab” on the browser window. It will be to the right of the address bar:
You can type in a new path in the address bar of the new tab, such as https://my-first-flask-site.YOUR_USERNAME.repl.co/my-second-page. Right now, your server will return a 404 for that page because it doesn’t exist.
HTML Assets and CSS Styles
Next, let’s add an HTML file and a CSS file to our Flask app. HTML files are commonly put in a templates folder in a Flask project, because they are usually templates to show information. Our Flask code will supply values to HTML templates via variables, so that our app can change via Python code.
Adding an Index Page
In main.py, we already set up our Flask app to look in the templates folder for HTML files:
# Create a flask app
app = Flask(
  # ...
  template_folder='templates',
  # ...
)
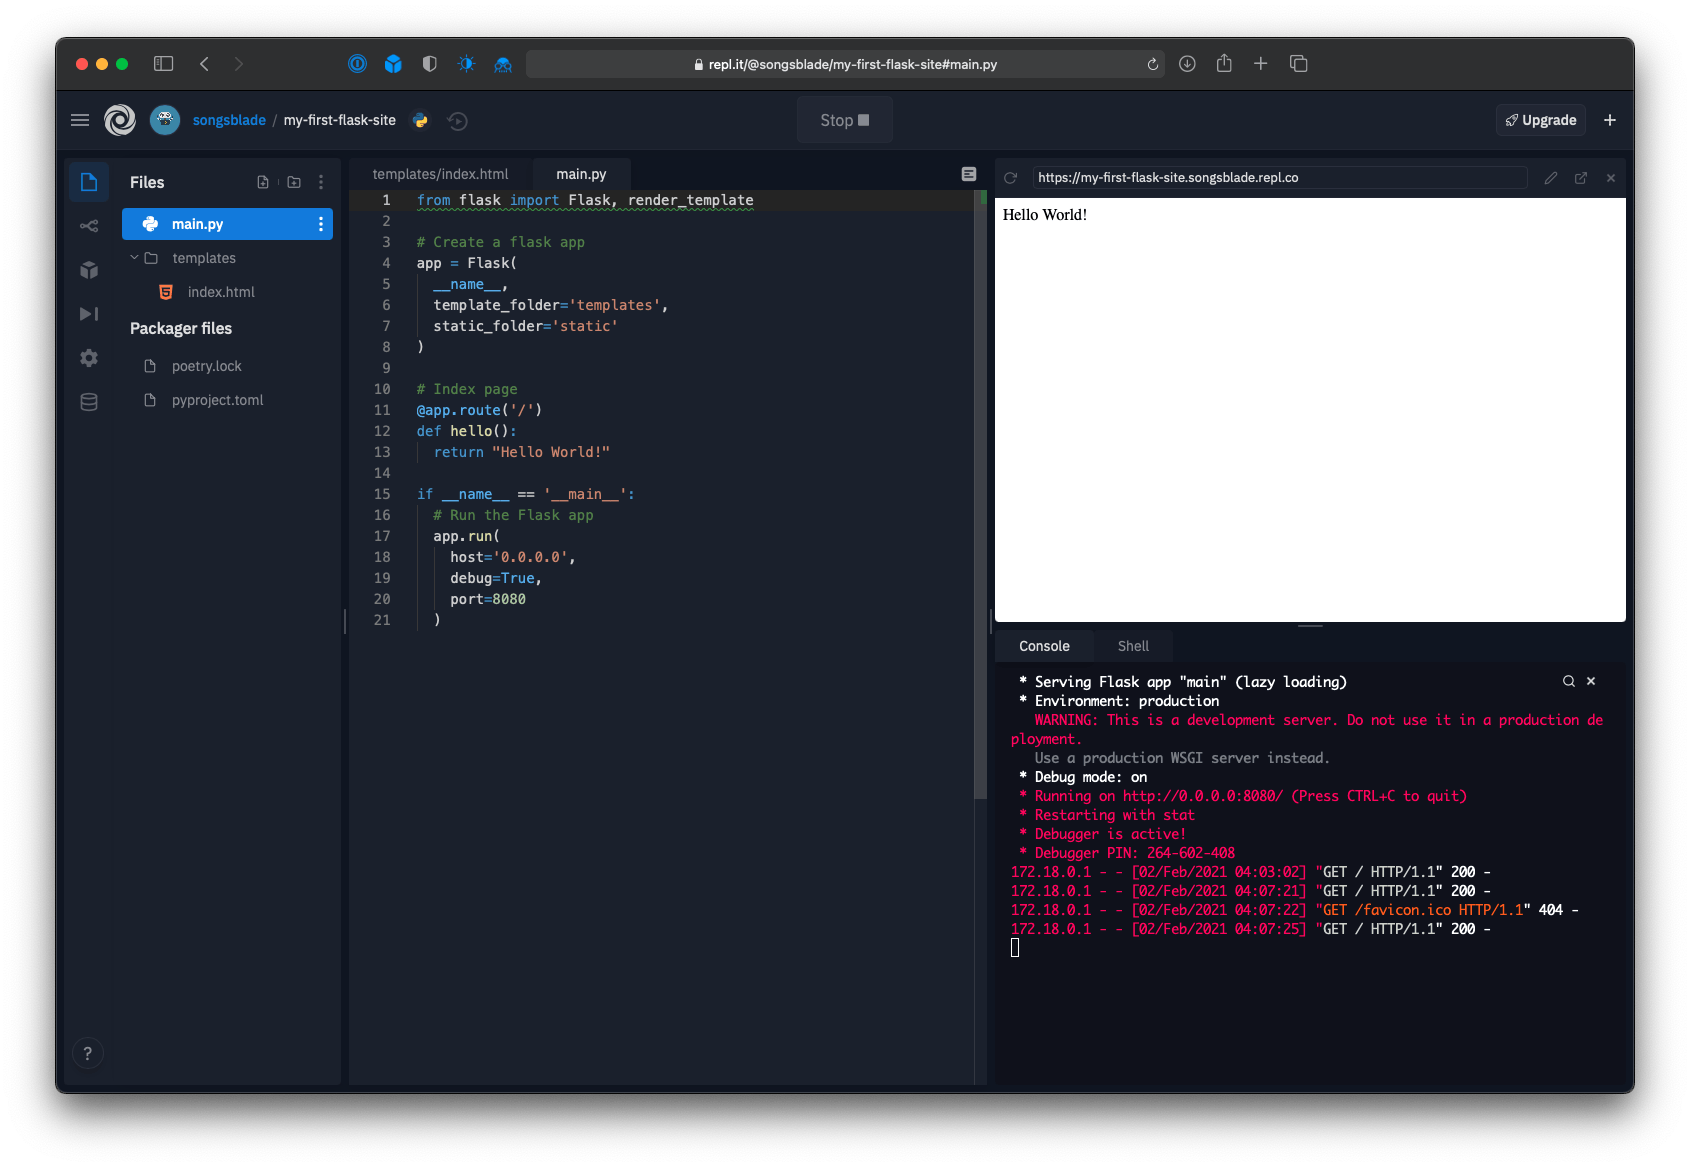
Now let’s create the templates folder and create an index.html file. Next to the “Files” header on the top left, click the “Add folder” button and name the new folder templates. Then, click the three dot icon on the templates folder and click “Add file”. Name the new file index.html. To have both index.html and main.py open at the same time in your editor, right click main.py on the files list and click “Open tab”.
Your editor should now look like this (note that there’s two tabs in the editor now: one for templates/index.html and one for main.py):
Copy the below code into the templates/index.html file:
<!doctype html>
<head>
    <title>My First Flask Website</title>
    <link href="/static/style.css" rel="stylesheet" type="text/css">
</head>
<body>
    <h1>Hello, World!</h1>
    <p>
        Welcome to your first Flask website
    </p>
</body>
And replace your contents in main.py with the below code. This new version updates the hello() function to index(), and it returns the contents of index.html to the user:
from flask import Flask, render_template

# Create a flask app
app = Flask(
  __name__ ,
  template_folder='templates',
  static_folder='static'
)

# Index page (now using the index.html file)
@app.route('/')
def index():
  return render_template('index.html')

if __name__ == ' __main__':
  # Run the Flask app
  app.run(
    host='0.0.0.0',
    debug=True,
    port=8080
  )
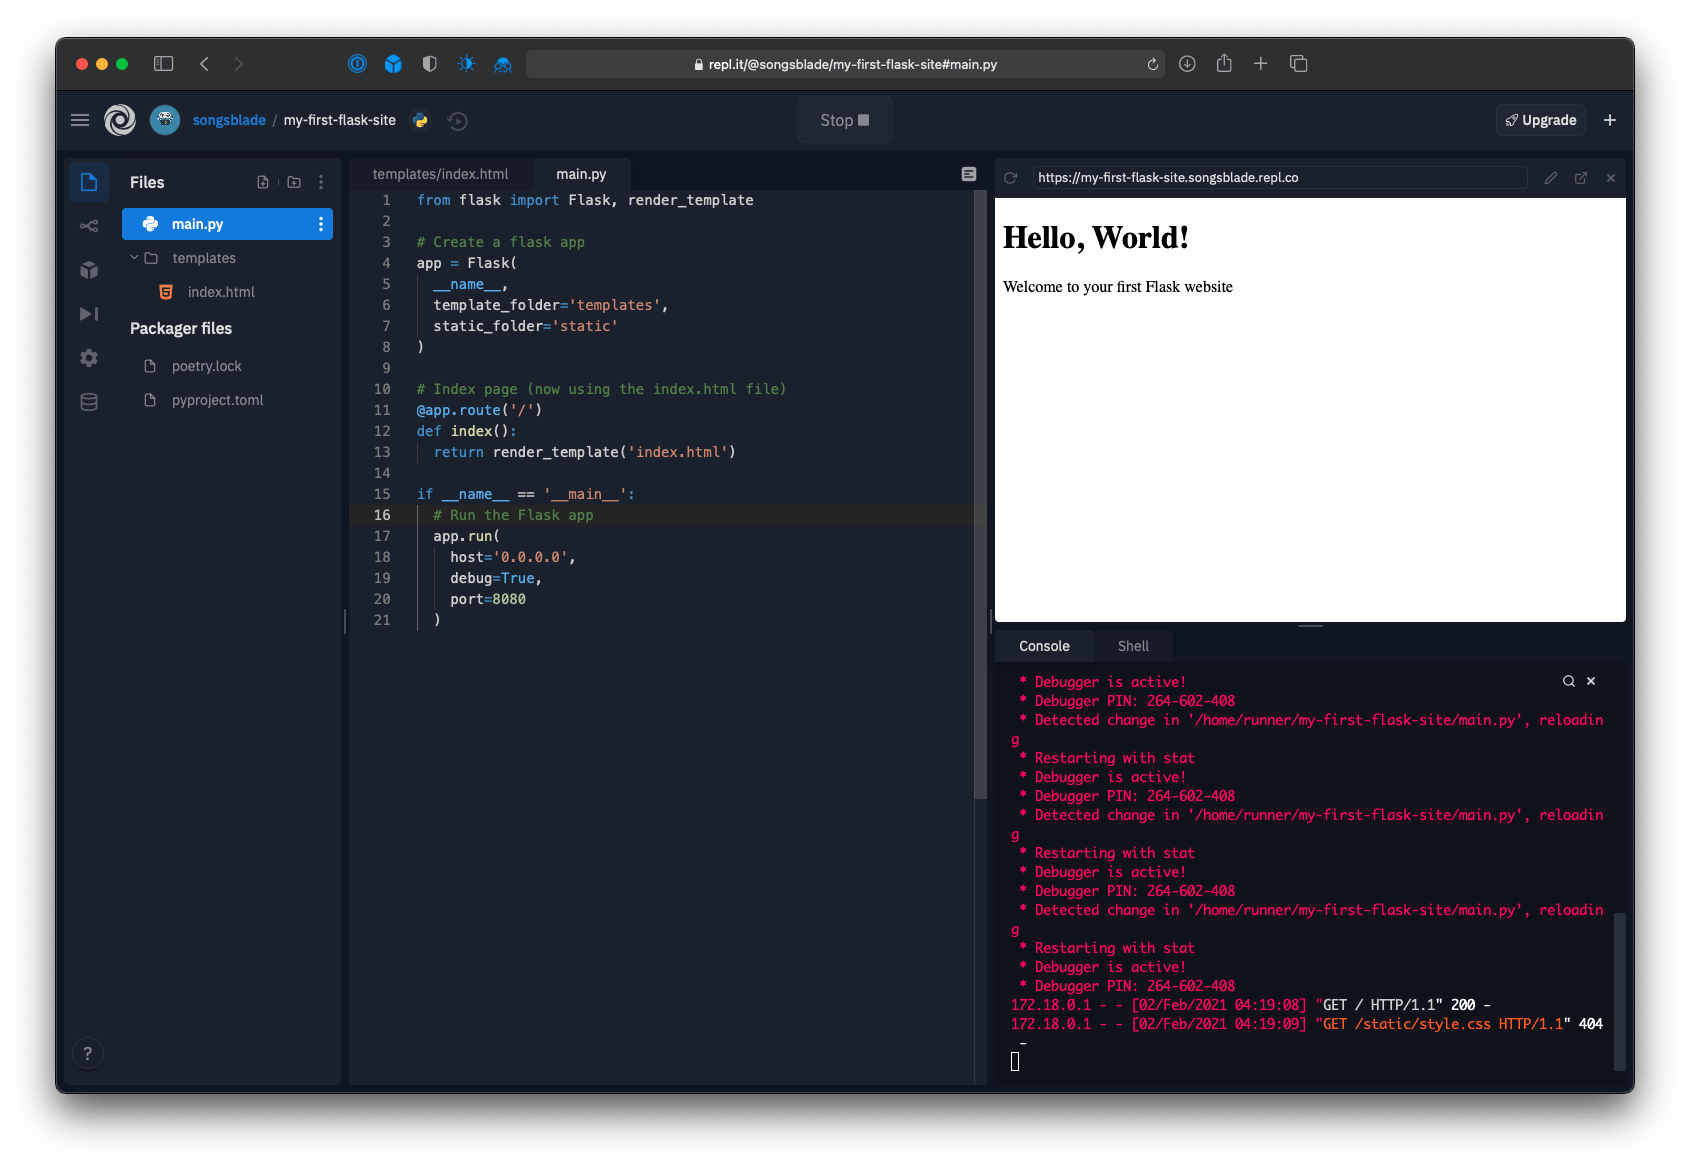
Click the Refresh button in the browser window of the project ( not the refresh button in Chrome or Firefox, but the refresh button for the smaller window in your project), and you should see the contents of your index page with a large header:
Adding CSS Styling
Now let’s add a CSS file to change the color of the text of our app. The Flask app is set up to look inside a static folder for CSS and JS assets:
# Create a flask app
app = Flask(
  # ...
  static_folder='static'
)
And the index page is set up to look for a file named style.css inside the static folder:
<!doctype html>
<head>
    <!-- ... -->
    <link href="/static/style.css" rel="stylesheet" type="text/css">
    <!-- ... -->
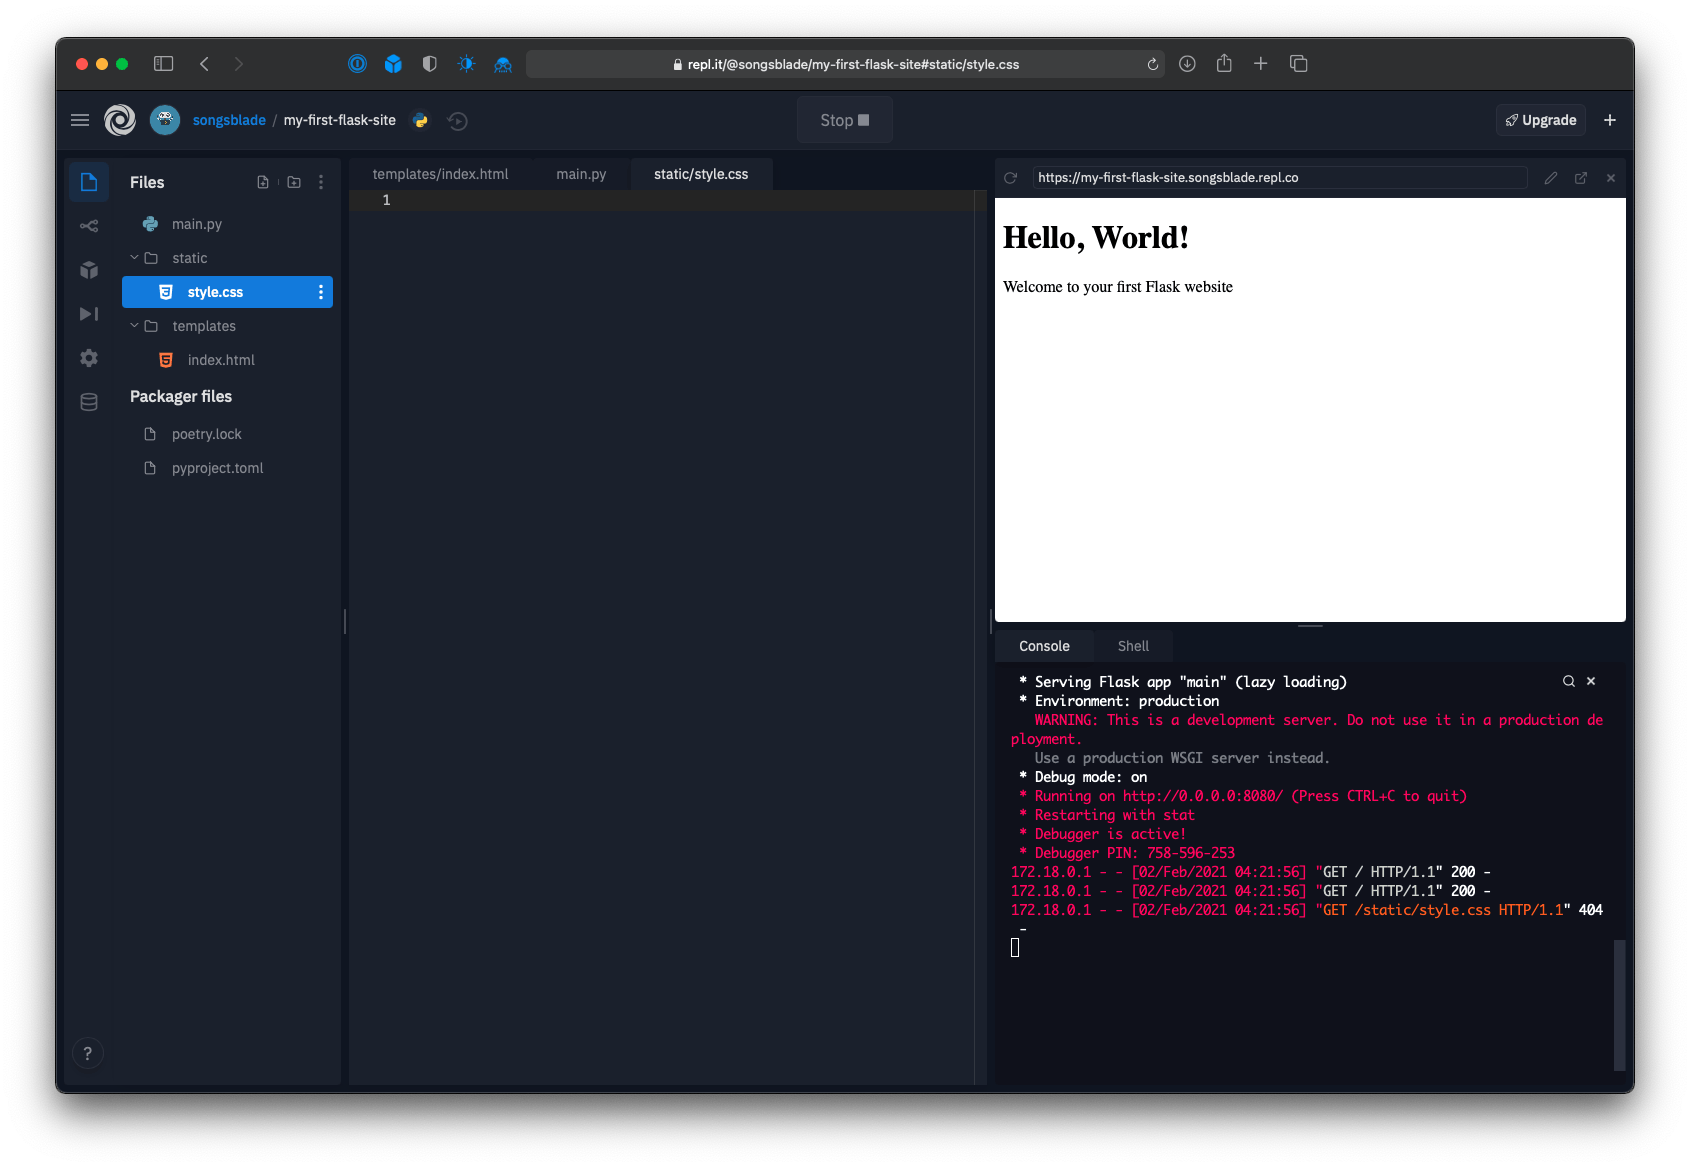
Click main.py on the Files list, then click the “Add a folder” icon to the left of the “Files” header. Name the new folder static. Next, click the three dot icon next to your new static folder and click “Add file”. Name the file style.css, and open it by right clicking the file and selecting “Open in tab”.
Your project should now look like this:
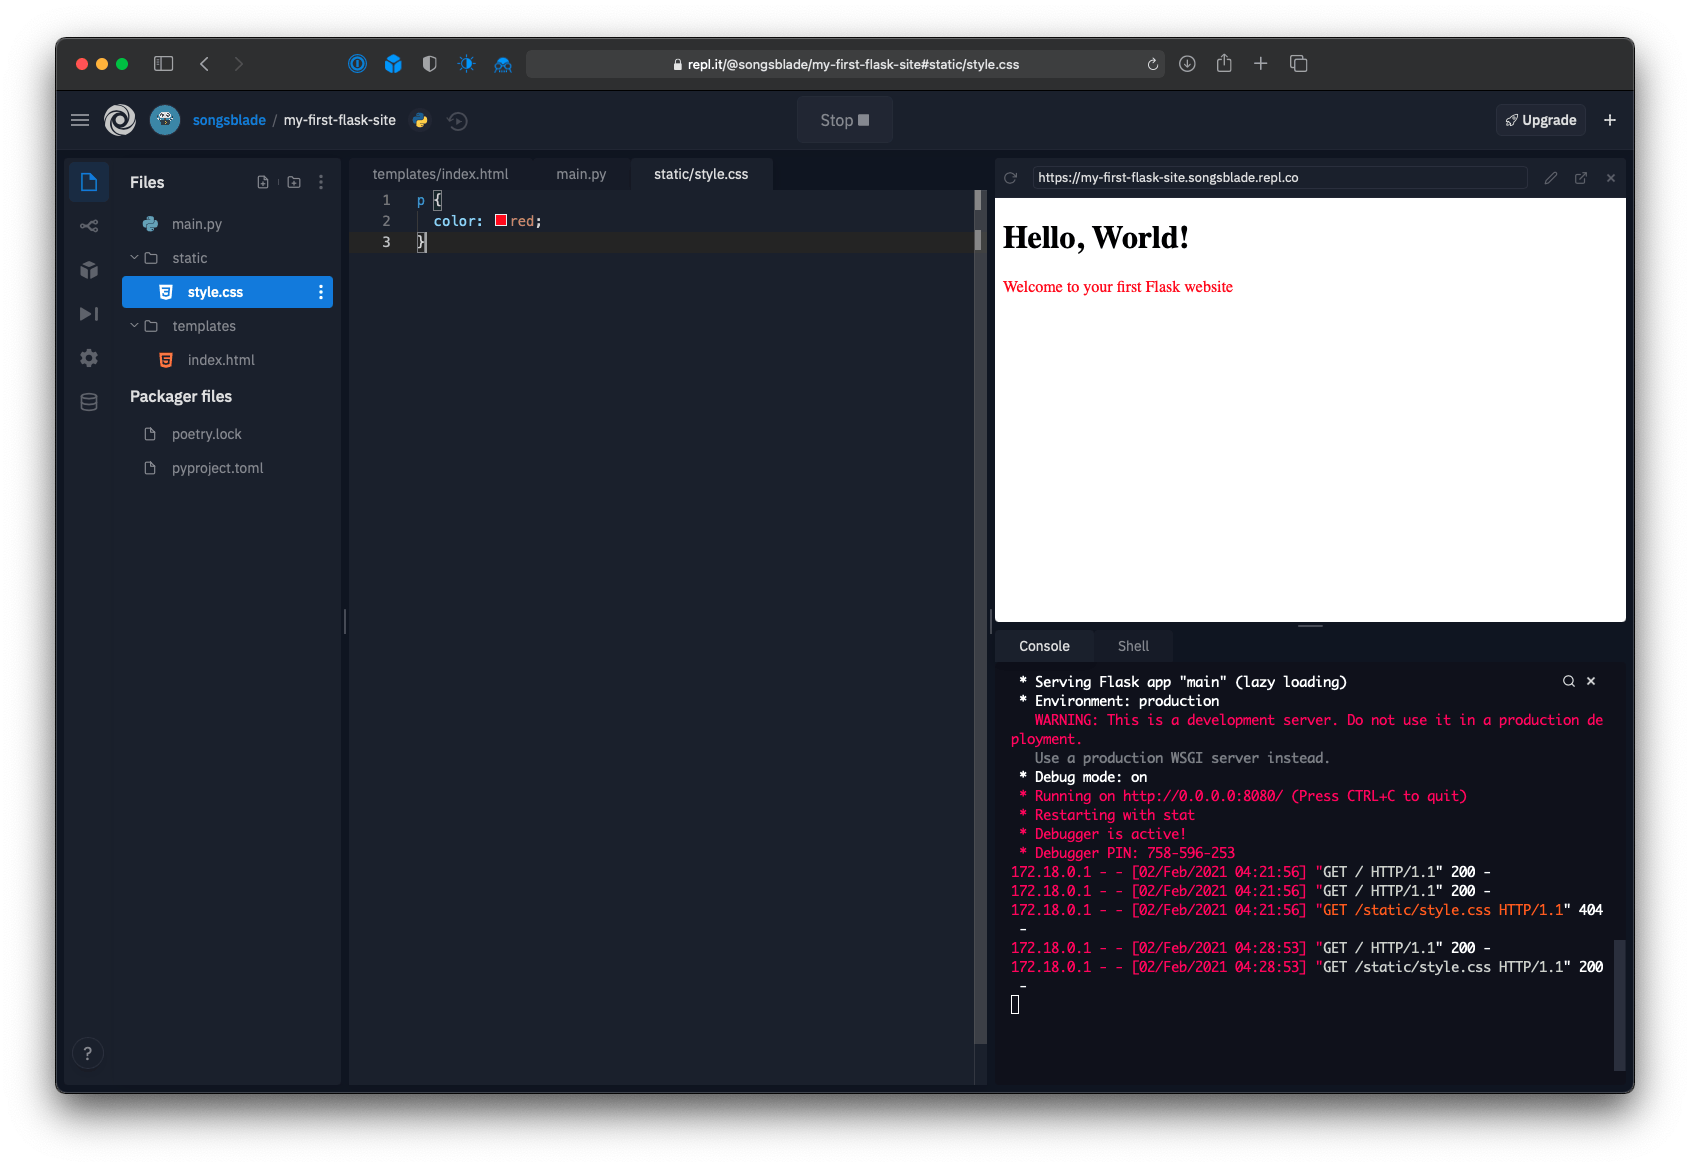
Let’s write some CSS to change the color of the “Welcome” message to red. Add the following code to your static/style.css file:
p {
  color: red;
}
Click the Refresh button in the project browser window ( not the refresh button in Chrome or Firefox, but the refresh button for the smaller window in your project), and the “Welcome” screen will turn red:
Congratulations, you’ve written your very first Flask app!
This tutorial was originally written for Code Your Dreams, an incubator of youth voice, tech skills, and social justice. Their project-based and student-centered programs enable youth to be the change makers we know they are through code. To find out how to get involved, visit their website: https://www.codeyourdreams.org